

How To Paint The Eye Of Horus 40k

Pigment your Primarch – Horus Edition
A pace by step guide on painting the first amongst equals, by Max Dubois, that french douchebag from the untamed north.
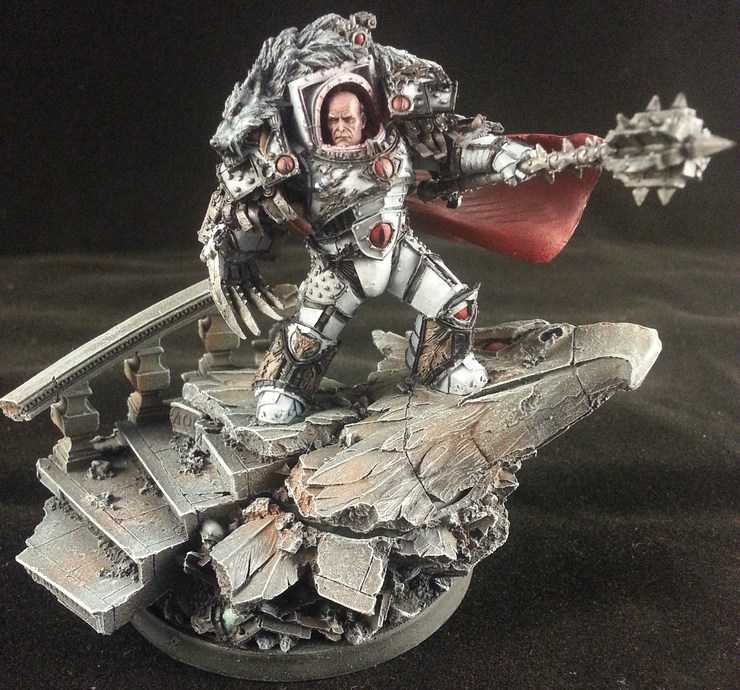
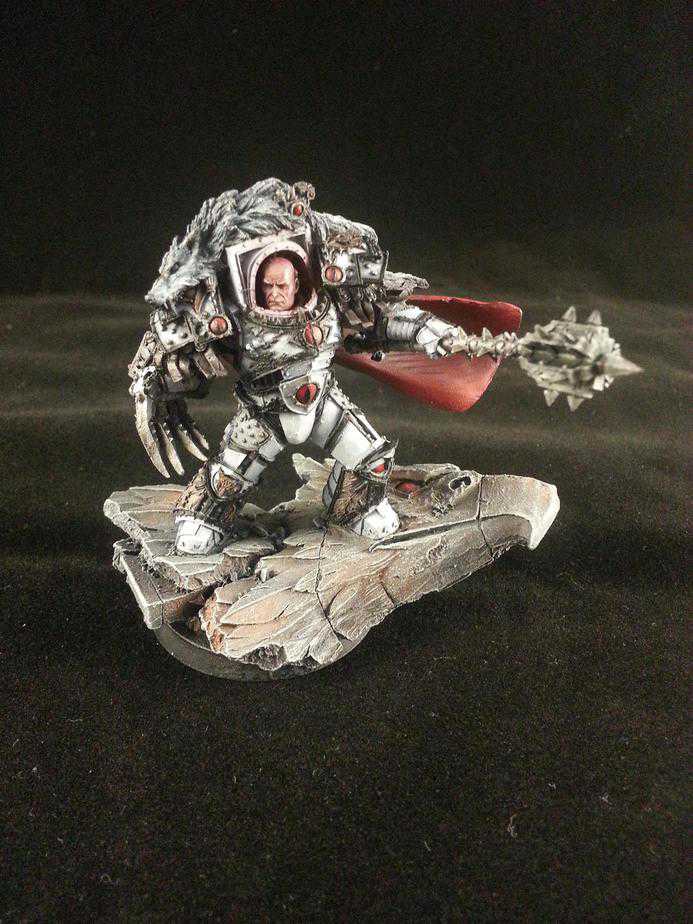
One absurd thing about this Horus is that with all the symbols and details in his armor, you can pigment him in pretty much any scheme you'd like ( Luna Wolves White, Sons of Horus Gray, Justaerin Black, Classic McVey Crimson ) it will all look awesome.
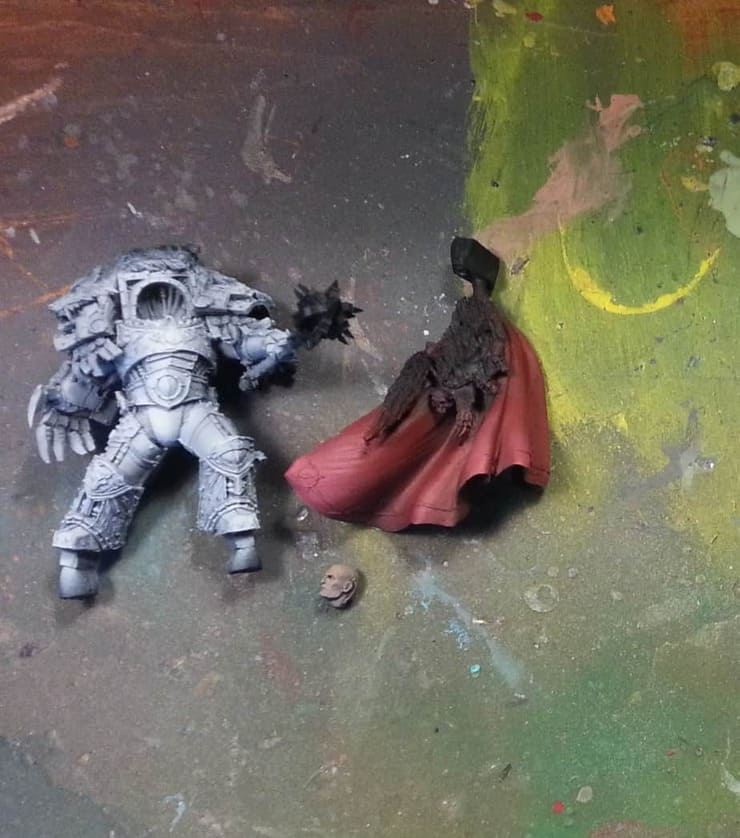
Assembly:
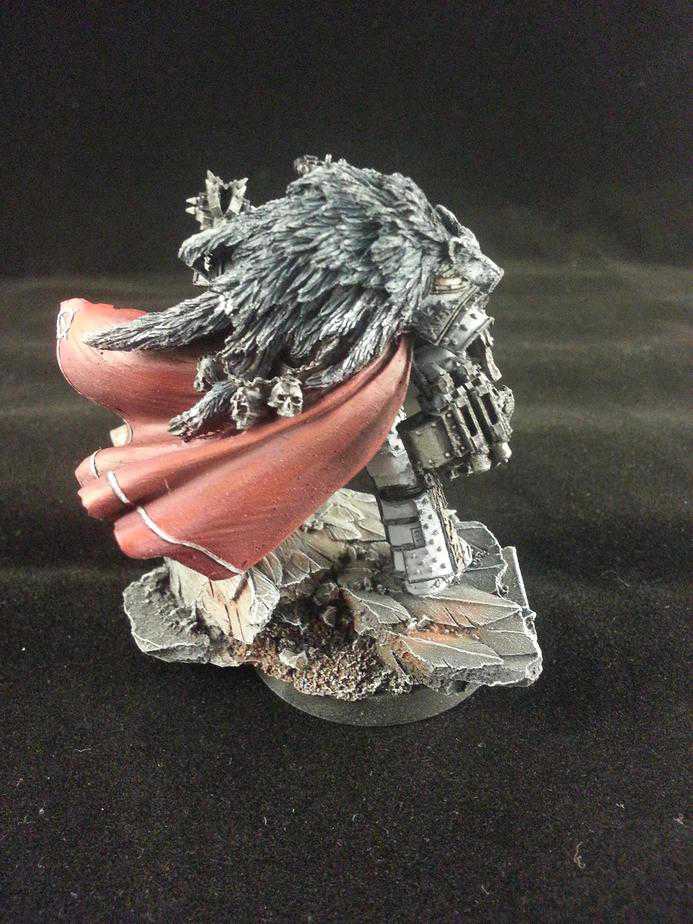
To make good use of the airbrush, exit the base, the cloak and the caput separated from the torso. As well, make sure the cloak fits in the back, possibly mine was miscasted in some way, but information technology did not fit at all without serious pivot-vice action.
Airbrush:
After priming your badboy, fourth dimension to offset with the airbrushing.
Armor: Keep the colors neutral for the armor, every bit yous desire to wolf pelt sitting on top to contrast with it rather than blend in. First with a basecoat of Dawnstone. You can then highlight with a mix of Dawnstone and White ( l/50 ) and add a final highlight of pure white spraying from to peak of the model.
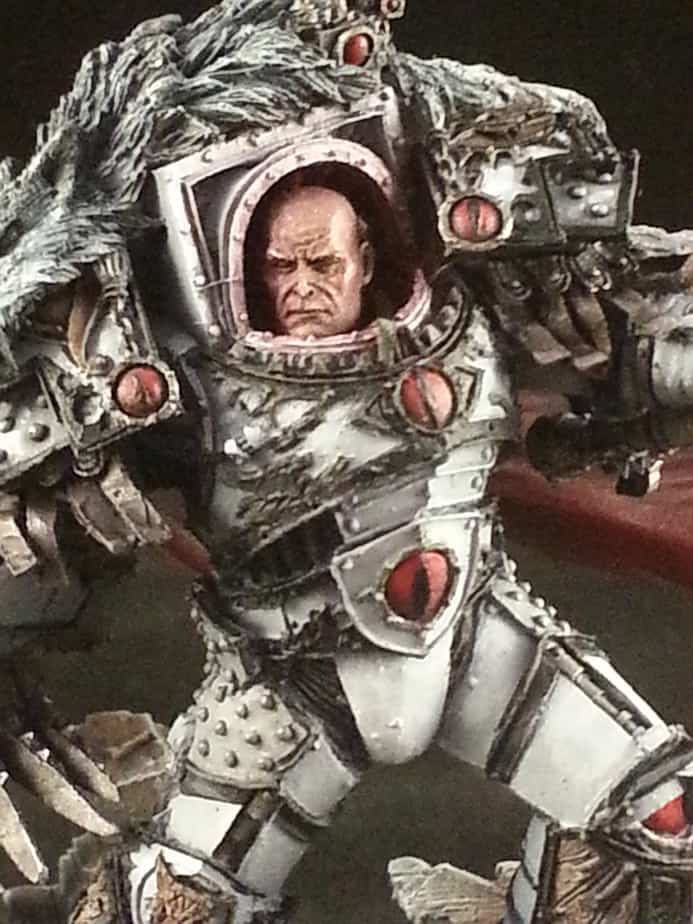
Head: Starting with Rhinox Hibernate in the recesses, basecoat the head with Bugman'south Glow and highlight by adding white to that colour.
If you're into the classic look of Horus with the red glow coming from the armor, now's a good time to do it. Spray Khorne Red lightly in the armor where the caput is. Then lightly spray the back of the head with it. If you go lightly, this should create a ruby-red hue to the pare tone rather than turn the whole matter ruby-red. Finesse my brother!

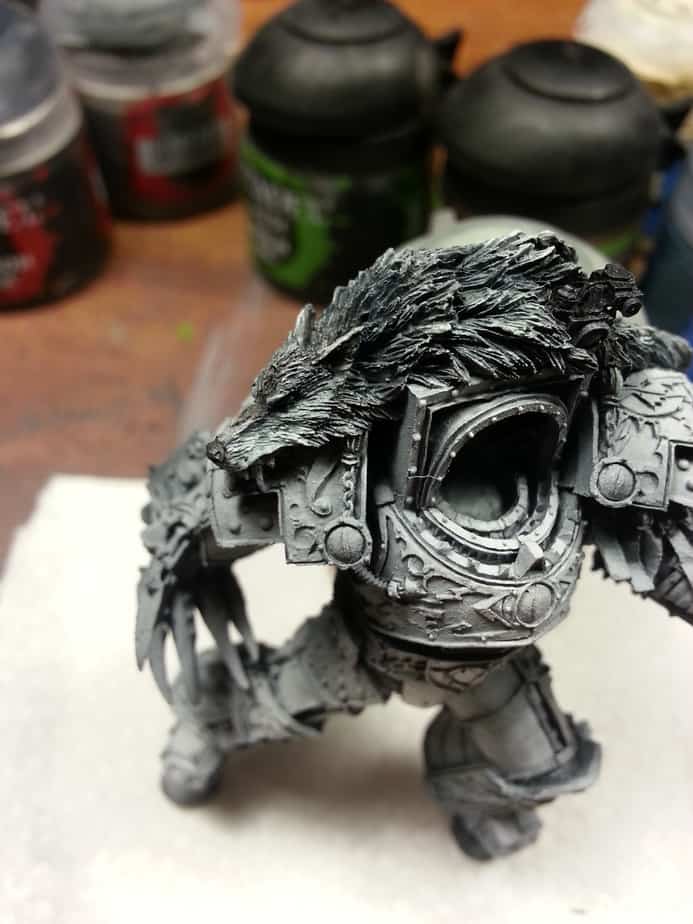
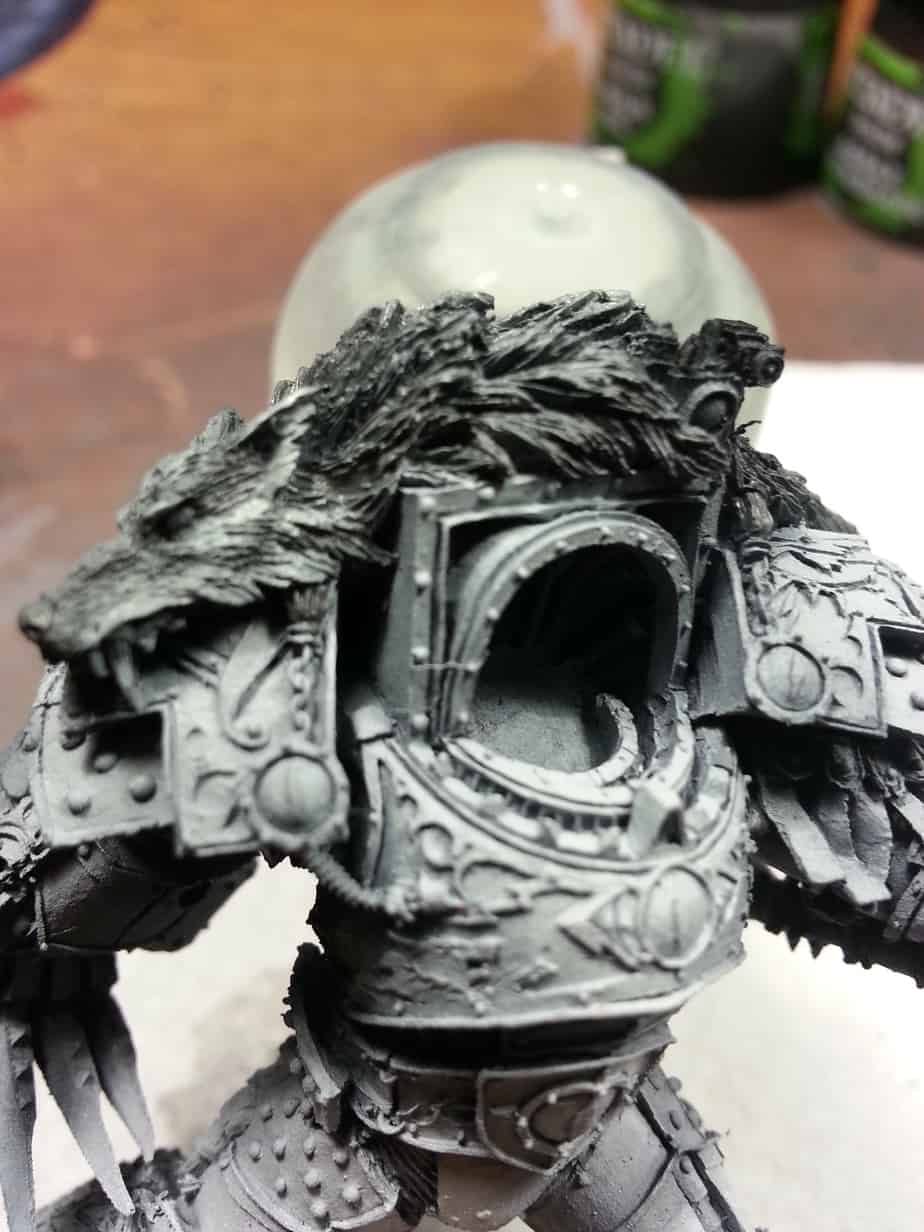
** I know the face is in the armor on the moving picture, but don't actually mucilage it to practice this! **
Cloak: To practice the red cloak, offset by airbrushing Rhinox Hibernate in the deep folds and where the claod will meet the armor as these areas will the the most shaded. Then basecoat the cloak with Mephiston Cherry, leaving brown in the recesses. If y'all have a steady hand, add together a highlight with wazdakka ruddy on elevation. If you like painting blackness, I'one thousand pretty sure it would lool awesome in black too contrasting the white armor.
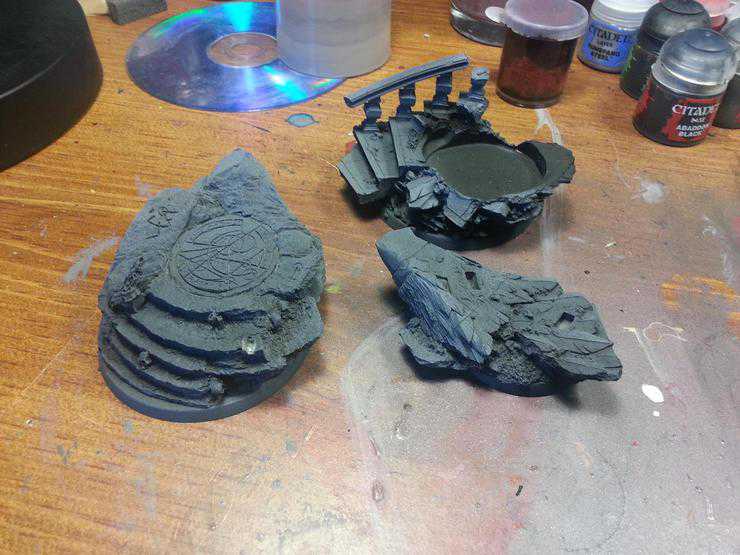
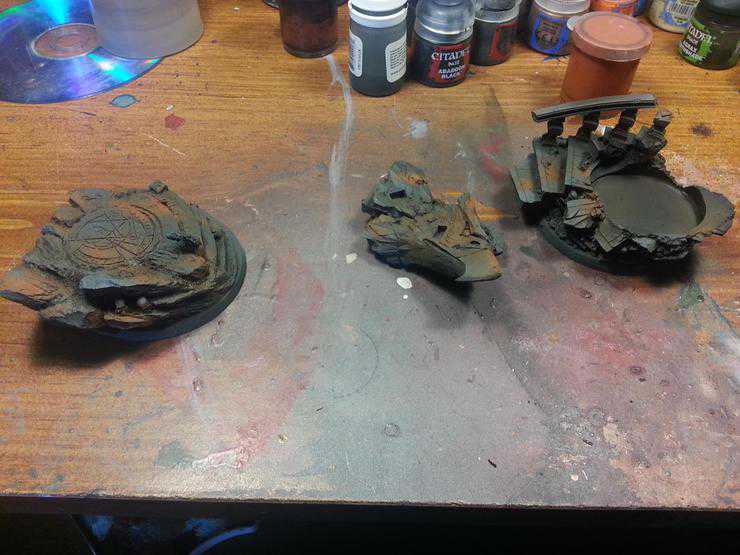
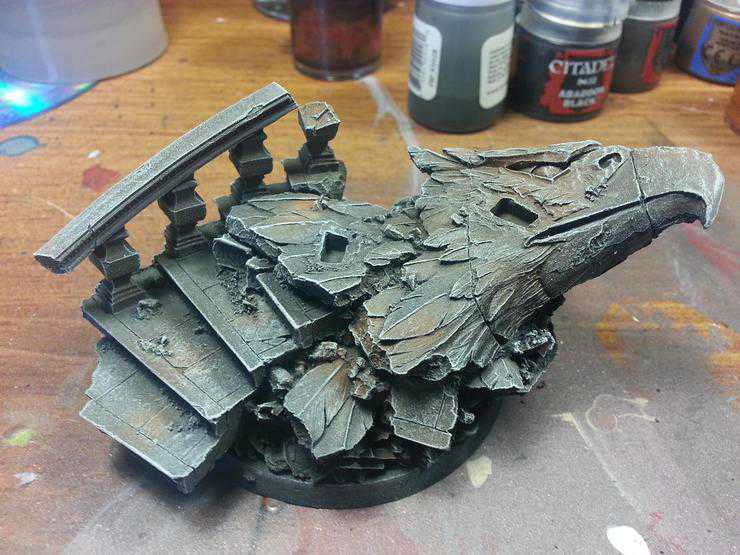
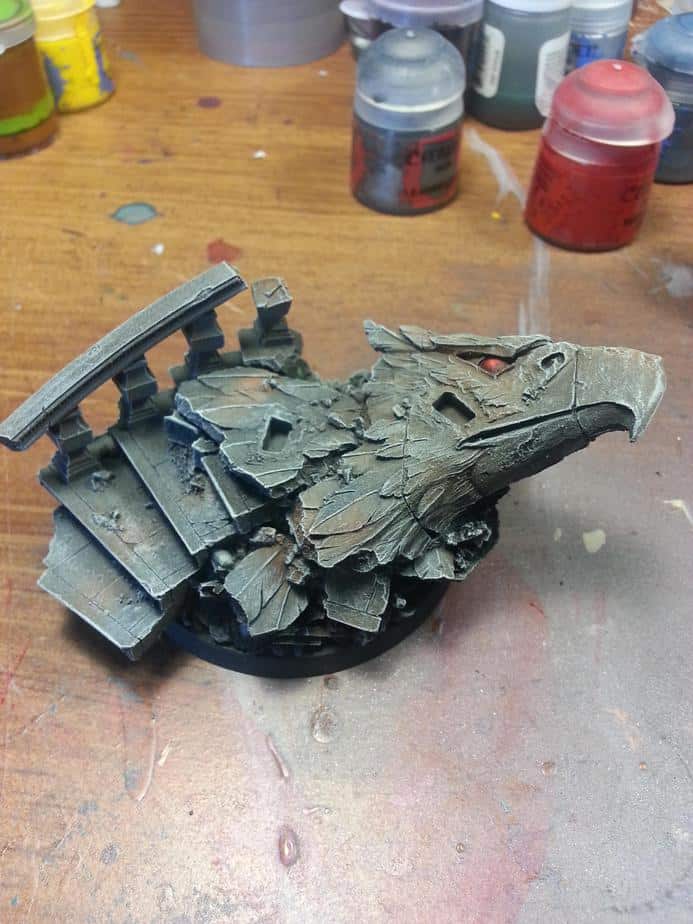
Base: I used this method for painting the base of operations. It'southward quite straightwforward and fits with the other primarch the client already has. You can do this concluding, or match it with bases you have for your ground forces if you're rocking Sons of Horus!
As you can see, a lot of these airbrush steps use the same colors. This serves 3 purposes.
ane- Y'all save fourth dimension by doing these steps together
two- Some colors are harder to airbrush and work with, and so try to utilise the friendlier ones.
3- Using the same colors keeps the model in the same tone. For some art-theory reason well across my writing skills to explicate, this is a thing and makes libation models. SCIENCE!
Bodily Painting:
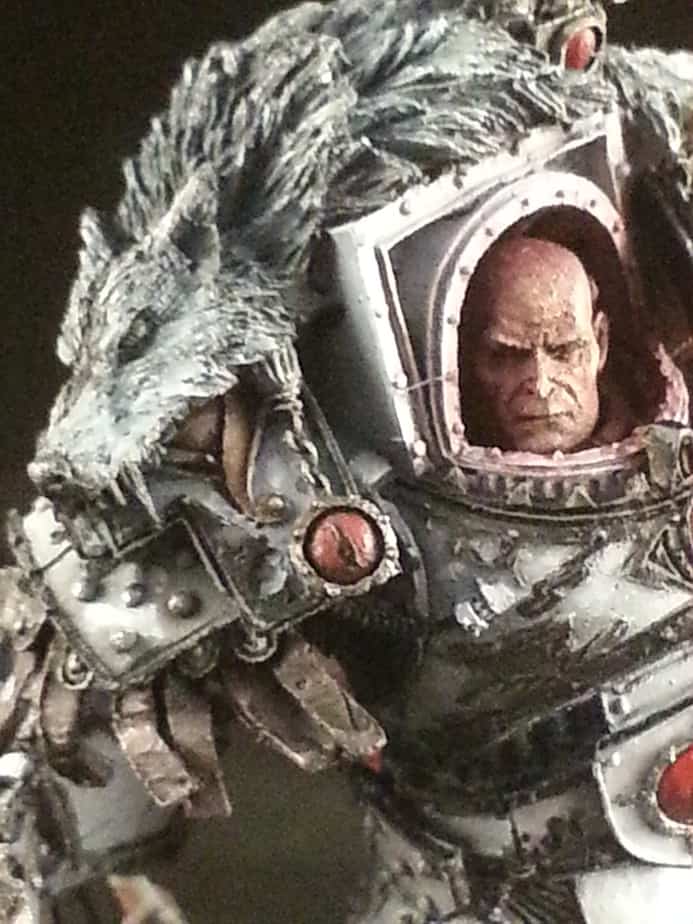
The Wolf: Step one is to google pictures of wolves, or take your hipster girlfriend's wolves-howling-at-the-moon sweather as reference. Obvious upside to the later: your girlfrend is now topless, y'all accept her sweather. No need to give thanks me.
This sounds lame, just a wolf looks like a dog or a flim-flam or like some random furry mammel without a few disctinctive colors pplacement. The chocolate-brown spot between the eyes, black nose, black ears and the grey crest, mostly.
I don't have pictures of this process as I started over a couple of times earlier using a reference. The last method looked something like this:
Basecoat with Dawnstone,
Overbrush/drybrush with Celestra Grey and white in the relevant areas.
Wash with thinned down Adeptus BattleGrey and thinned down black the relevant areas
Launder the pelt with thinned down Dark Reaper, specialy where thepelt mets the armor.
You desire to brand these launder besides thin and do more coats with them rather than ane too thick and start over.
Paint the eyes and the olfactory organ blackness.
The cloak:
I would have no problem leaving the cloak as is with only the airbrush steps done to it, only since this is Horus, nosotros'll add some depth to it.
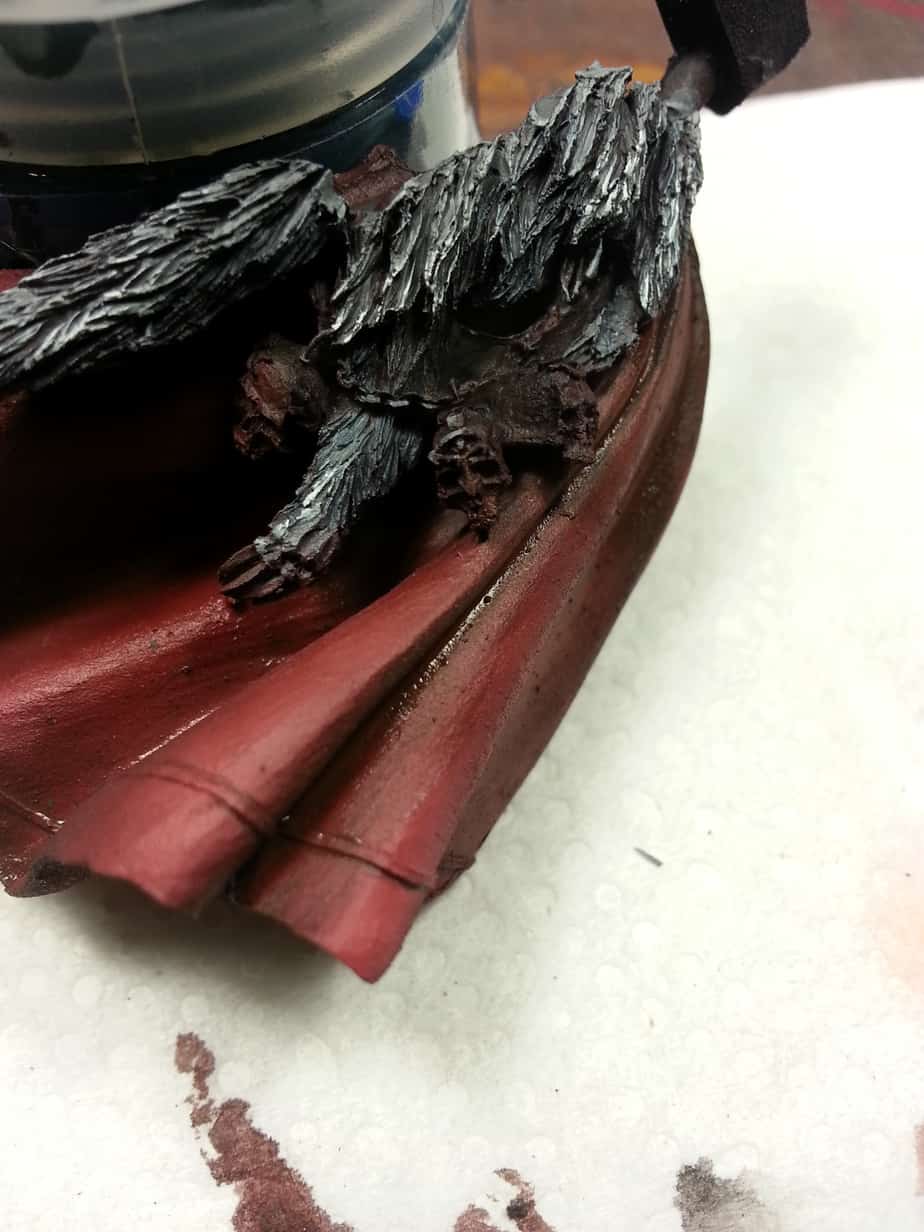
Start with highlighting again with Wazdakka Ruby-red, focus on some area where the airbriush might've missed. So basecoat the particular in the claok ( the line and the Eye ) with Celstra Grayness
Then wash the cloak with thinned down Rhinox Hide. This takes a while, as y'all need 5-half dozen-7 coats to get correct and you need them to dry completly between each coat, so feel free to start working on another footstep in betwixt. Starting time each coat closer the the fold, so you lot cover less area as y'all go on.
This wash also provided our line and Eye of Horus with a well-baked outline of chocolate-brown. Clean up the details with celestra grey and highlight them white. Touchup the cloak with wazzdakka Cherry-red once more in areas where you want to cloak to pop.

Face:
Piece of work on the face is pretty straightforward:
Mix Bugman'south glow with white and highlight the cheekbones, nose, chin and lowerlip. Wash with thinned downward Rhinox Hide. Yes, mastering the thinned downward rhinox hide is ninety% of my skills. Learn it. Alive it. Earn it.
Armor ( and balance of the miniature for that affair )
Since I had no thought on what colors should go where, I started ou by blocking in all the basecoats and meet how that would wait. I do this on about of the stuff I paint when there's no specific scheme to follow. Past blocking out a color, I hateful the basecoat to something and leave the shading/highlighting for later. The model looks weird with these flat colors, but y'all tin can usually tell if your choice of color is off and fix it earlier having spend all that fourth dimension working the colour. So Mephiston Red for all the 'Eyes' and the lenses, Black for the trims and the armor joints, Leadbelcher for the silver and Runelord Contumely for the Gold. I desire to keep gold to a minimum as gold over white requires a lot of work and deep shading to wait expert.

Once you blocked out everything and it'southward to your liking here's how yous pimp up your pimp, and so to speak.
Black: Mix black with Karak Stone or Screaming Skul and highlight, focus by and large on the rivets and raised edges. Dont apply gray to shade black, it always looks wrong. And grey.
Carmine: pretty mich how we did the cloak. If you desire more of a jewel-like effect, you can add a bear upon of Orangish after your highlight.
Silver: Kickoff with highlighting Leadbelcher with Runefang Steel. So wash with Nuln Oil. Y'all can then re-highlight with runefang or sahde some more with thinned down blackness paint to your liking.
Aureate: Shade with Agrax Earthshade and ahde some more than with thinned downward black paint if you lot want a darker look and a well-baked outine next to the white armor. Once that's done, highlight with Runefang steel.
Glue everything together, you are the proud owner of a pimp-tastic Horus, Primarch of the Luna Wolves, Showtime Among Equals, Unparrallelled Bro-King and un bunch of other titles as y'all please.

Until next fourth dimension, have a good one!
Max Dubois
Max Dubois is a hobby enthusiast from Quebec. Max produces a lot of hobby ressources that you can observe on his own weblog as well as well as on Spikey Bits. He is always prepare to talk shop with other enthusiasts, whether information technology's near, painting, playing or drinking, no matter your skill level in either those activities. You can also observe some of his work on amazon kindle, where he sells hobby e-books for a dollar!
Source: https://spikeybits.com/2014/07/paint-your-primarch-horus-edition.html
Posted by: mathesonfationeten.blogspot.com
0 Response to "How To Paint The Eye Of Horus 40k"
Post a Comment